Prepare Your Sprinklers Before Cold Texas Weather Arrives
Sprinkler winterization in Austin, TX? Believe it or not, sometimes it’s necessary. When you have an irrigation system, it’s important to take care of it before serious winter weather blows in. No homeowner likes to do it, but not winterizing can lead to costly repairs in spring.
Forget to do it and you could end up with cracked valves, frozen pipes, and broken sprinkler heads. The worst part?You may not realize the extent of the damage until you turn everything back on a few months later.
That’s why we’re sharing when to winterize your sprinkler system, the different options you have, and more!
What Is Sprinkler Winterization & Why Do It?
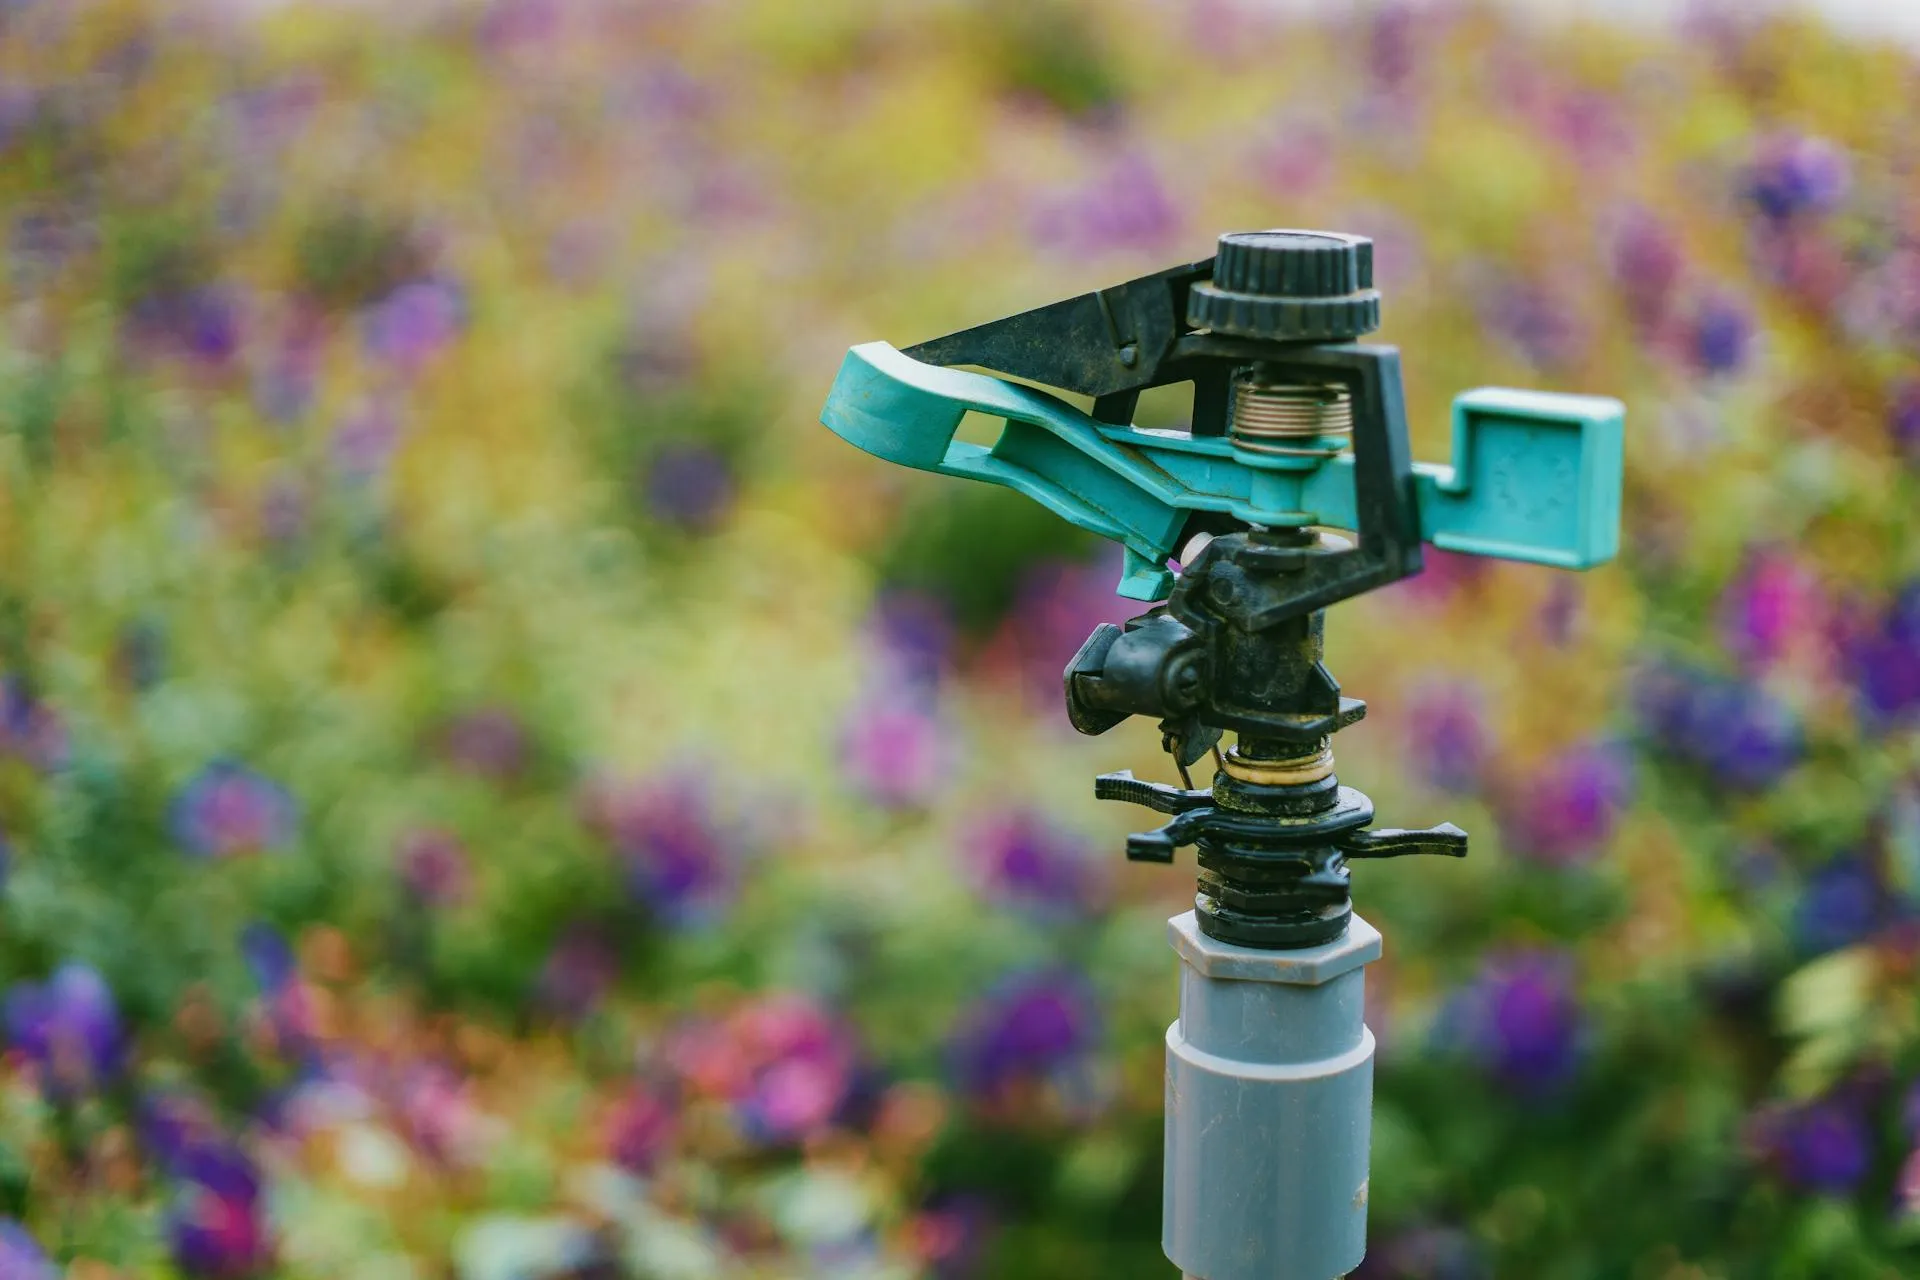
Winterization, in a nutshell, is about getting all the water out. Down to the last drop. The thought is to leave your pipes, valves, and sprinkler heads dry, with nothing for freezing temperatures to damage.
When people ignore this, the pipes are usually what go first. They crack and break apart. Plastic valves shatter, and sprinkler heads get pushed right out of where they are supposed to rest because of the ice building up inside.
Here’s what to keep in mind about different systems. Most newer ones are either rigid white PVC pipe or flexible black polyethylene. PVC is very brittle, so it shatters with minimal resistance when it freezes. Polyethylene resists the cold better because it flexes, but even that will rupture if water is left in it and starts to expand.
Three Ways to Winterize Your Sprinklers in Austin, TX
Automatic Drain
If your system is pre-installed with this setup, half the job is already done. Such automatic drain valves kick in and release water every time pressure drops below a predetermined value.
But that’s where it gets confusing. They’re just right for the sprinkler heads and lateral lines, but they won’t even come close to the main line. You still need to drain that mainline yourself…or you’re asking for a big break. Also, inspect any valves that you have, as they too can trap water.
The great thing about this winterizing option? It hardly requires any effort on your part. The not-so-good news? It’s not fail-safe. You may still need to do more work just to be sure.
Can you do it yourself? For the most part. But you should have an idea of what your system can and can’t tolerate.
Manual Drain
This is the most hands-on version. Start by shutting off the main water supply to your water system. Sounds basic, but people forget this process too often. Shutting off a hose spigot doesn’t count. You’ll actually have to find the true main shut-off valve, and it’s usually tucked away in your basement or utility room somewhere.
Second, open all of your low-point manual drain valves. Then proceed to your controller and go through one full cycle with the water already shut off. This will start all of your automatic valves and allow any pressure that is left in the mainline to be relieved. Once that cycle is finished, put your controller into the rain mode or the off position.
The good news about this method? It won’t cost an arm and a leg. The bad news? Water has a way of staying in low spots or annoying places, and you might miss some.
Is it a do-it-yourself task? If your system has manual drain valves and you feel handy enough to find them and crack them open, sure.
Blowout
This process is done using a huge air compressor that shoots out compressed air through your pipes to force out all the water. It’s really effective, no matter where you live or what kind of system you have.
The issue is, you need some equipment that provides the right PSI (pounds per square inch) and CFM (cubic feet per minute). You’re generally speaking in terms of 40 to 80 PSI and a compressor that provides 30 to 100 CFM. Wind the pressure up too much and you’ll be destroying your pipes or blowing them to smithereens. Wind it down and water stays behind.
Nothing will dry your system out any better. But you need specialized equipment, and you’re taking your chances if you have no concept of what you’re doing.
Does your irrigation system need a blowout? Only if you are in an area of extended freezes. Most of our clients, however, are in warmer climates that do not need blowout service.
And other winterization alternatives? Temporary removal or insulating irrigation parts that are above the ground. This safeguards your system from unanticipated cold snaps and other surprise weather situations.
What’s the Best Time to Winterize Sprinklers in Texas?
The biggest thing is that you get it done before the temperatures drop below freezing. Of course, exact timing will depend on where you are.
In northern states, you’re generally seeing late September to early November. If you’re in the mountains or have a section of high elevation, you’ll need to winterize the sprinkler system even earlier.
Down south in Texas, it may be late November or early December. Some of the southern regions might not need it at all. Call our partners at Andy’s Sprinkler, Drainage & Lighting to learn more.
Although most of their locations are in southern and coastal areas, they provide additional winterization services in areas where prolonged freezes are more likely.
Once again, don’t leave it until it’s the last minute! Everyone thinks of it the day of the first freeze, but it’s obviously busier then. Having it taken care of in advance saves you the hassle.
Should You DIY or Hire a Pro?
There are certainly some advantages to having a pro winterize a sprinkler system.
- The job is done quicker and more efficiently.
- It’s all accomplished safely. Best of all, you’re not standing there second-guessing yourself the whole time.
- You’re not as likely to have costly, surprise repairs. An irrigation pro makes sure everything’s properly drained and protected, so you’re not firing up your system in April and discovering cracked pipes and broken valves.
If you don’t mind doing it yourself, just know what you’re getting into.
- The biggest risk of a DIY blowout is over-pressurizing your pipes. It’s easier to do than you think. And if those pipes are damaged, you’re looking at the very same repairs you were trying to avoid in the first place.
- There is still the danger you don’t get all of the water out. Maybe you missed a low spot, or a section did not drain completely. You won’t know until it freezes and then causes you problems.
- In addition, warranties on some systems are voided if you don’t have professional maintenance done. It never hurts to check first so you don’t save a hundred dollars now only to lose coverage on a sprinkler system that costs thousands of dollars.
Four More Tips for Winterization
- Switch your controller off. Either turn it off completely or put it on rain mode. Don’t just unplug it. If they’ve got a backup battery in it, leave it in. It’s actually keeping the unit from getting condensation inside.
- Maintain your hoses. Remove all of your garden hoses, make sure they’re totally drained, and bring them inside. Then put some insulated covers on your outside faucets.
- Think about a smart controller. Some of the newer Wi-Fi controllers possess rain sensors and freeze alerts, which enable them to automatically turn off the system when it is too cold. This will save your grass, roots, and sprinkler system from serious damage!
- Insulate exposed parts. Purchase some foam insulation covers and wrap your backflow preventer and any above-ground piping.
Typical Winterization Issues People Forget
- Missing a zone. It only takes one zone with water sitting in it to turn into a huge disaster.
- Using the wrong compressor. That little compressor you’ve got in the garage is not going to cut it. You need something with a bit more strength for proper sprinkler winterization.
- Forgetting the backflow preventer. It’s really pricey to replace, and it needs its own unique attention. You’ll need to drain it and insulate it separately from the others.
- Waiting too long. Don’t wait to hear the first freeze warning on the news. By that time, every irrigation company in town is getting slammed with calls, so you’ll be waiting.
- Not double-checking. Always go back and verify the low places and valves to make sure water isn’t pooling anywhere. It’s a few minutes extra.
- Small things that cause big problems. Our irrigation partners can identify leaks and damage before winter arrives. They also inspect spray patterns, ensuring water isn’t getting on concrete or hardscapes, where it can freeze and cause problems.
How to Do a Sprinkler Blowout Yourself
For those who want to do it themselves, here’s a quick breakdown of how to do it. You’ll need to be really careful with each step.
- Start by shutting off the water supply to your irrigation system and de-energizing the power to the controller.
- Next, relieve the pressure in the system. Open one sprinkler head on whichever zone is the most distant from your compressor.
- Hook the air compressor up to the blowout port on your system. Be sure to use the proper adapter for doing this.
- Begin at the zone that is either farthest from the compressor or in the highest location.
- Now’s when it’s time to be careful. Add air slowly. Open up that compressor valve slowly. Don’t go higher than 80 PSI if you have PVC pipe (50 PSI for polyethylene).
- Monitor your sprinkler heads. What you will see first is a solid stream of water. Allow it to keep running until all you are seeing is a faint, see-through mist of air.
- Drive through each of your zones separately and repeat this process.
- When you reach the final zone, let one of the sprinkler heads stay open while you drain the compressor and shut off the valve. This removes any remaining air pressure.
- Shut off the compressor and make sure all the valves on your system are closed.
You might need to do each zone twice to be extra sure that you got all of the water out.
Sprinkler Winterization FAQs
If I forget to winterize my sprinkler system, what can I do?
Shut off the water to the system and set the controller to “rain mode” immediately. Then have a professional drain it as quickly as possible. It isn’t ideal, but at least you’re doing something.
How do I know that it’s drained completely?
When a zone is finished in a blowout, you will be able to tell because the sprinkler heads will be blowing out a clear, fine mist instead of a wet spray.
Can I water my yard even in winter?
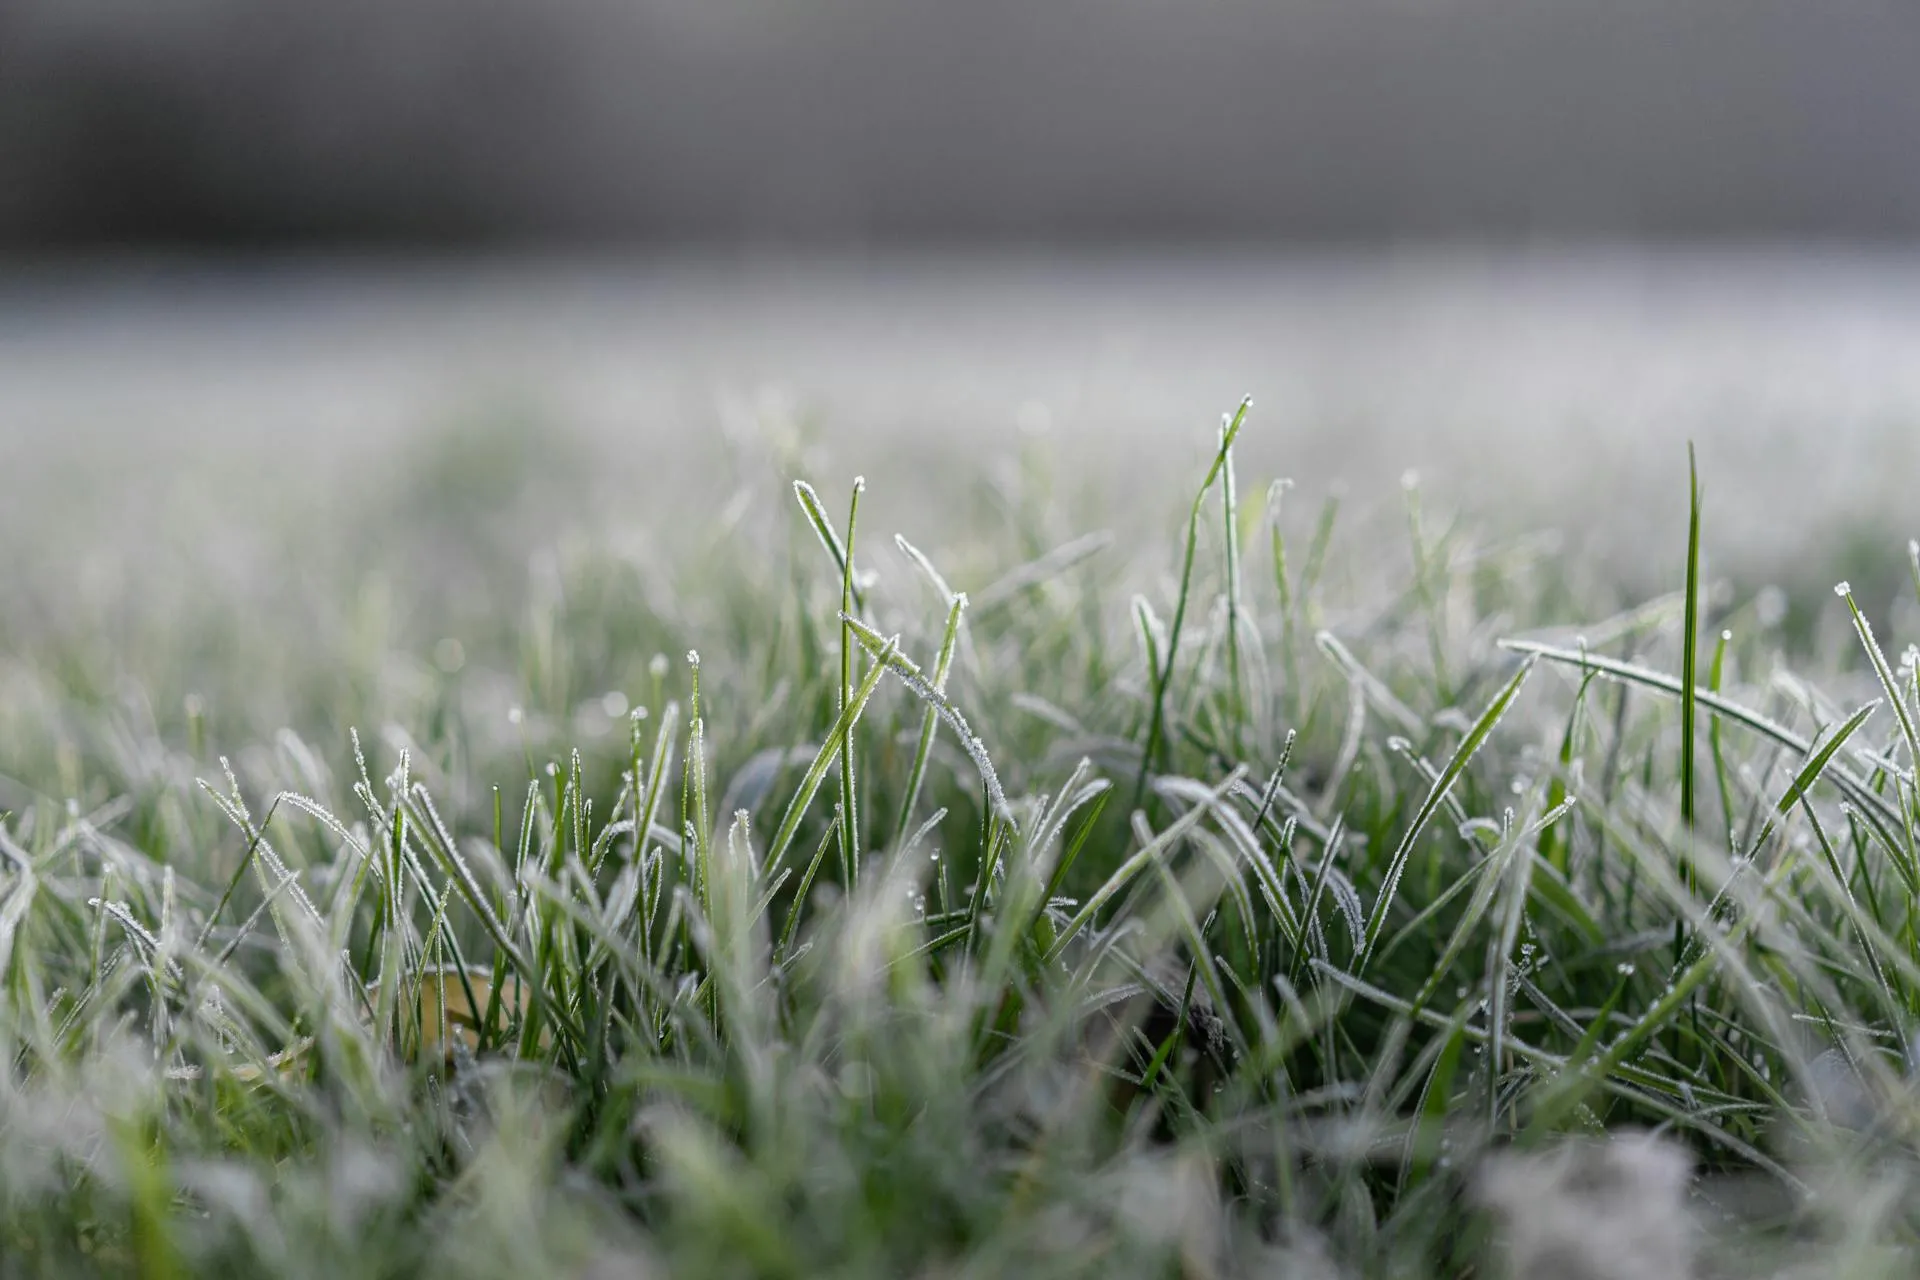
Absolutely. Simply adjust winter watering schedules. Continuous watering maintains your lawn healthy until spring.
How long does a sprinkler blowout take?
A professional blowout for a typical residential sprinkler system is around 30 minutes, but a DIY blowout will probably take an hour or longer.
Can I just not winterize if I live in a warm climate?
If your winter temperatures are never below freezing, it’s possible to merely shut down the system. But if you’re seeing temperatures below 32 degrees Fahrenheit forecasted in the weather, it’s best to play it safe.
What PSI is best for a blowout?
Never exceed 80 PSI. In flexible poly pipe, stay at 50 PSI or less to avoid damage.
Don’t Wait Too Late to Winterize!
It doesn’t take a lot of time or effort to winterize your sprinkler system, especially if you trust the professionals! This important seasonal task safeguards your lawn and helps you avoid expensive repairs later.
That’s why we partnered with Andy’s Sprinkler, Drainage, and Lighting. Here’s what their customers love about them:
- Certified, experienced technicians
- Systems tailored to your specific yard
- High-quality, long-lasting materials
- Stress-free experience
Contact Andy’s to schedule your sprinkler system winterization before the first freeze comes to Austin!
Blog Contributor: James Duhon
James Duhon serves as Branch and Area Manager for Real Green in Austin, with 20 years of experience. He is licensed by the Texas Department of Agriculture for both lawn care and structural pest control. His professional insight is shaped by service quality, customer satisfaction, team success, and two decades of leadership in lawn and pest operations.